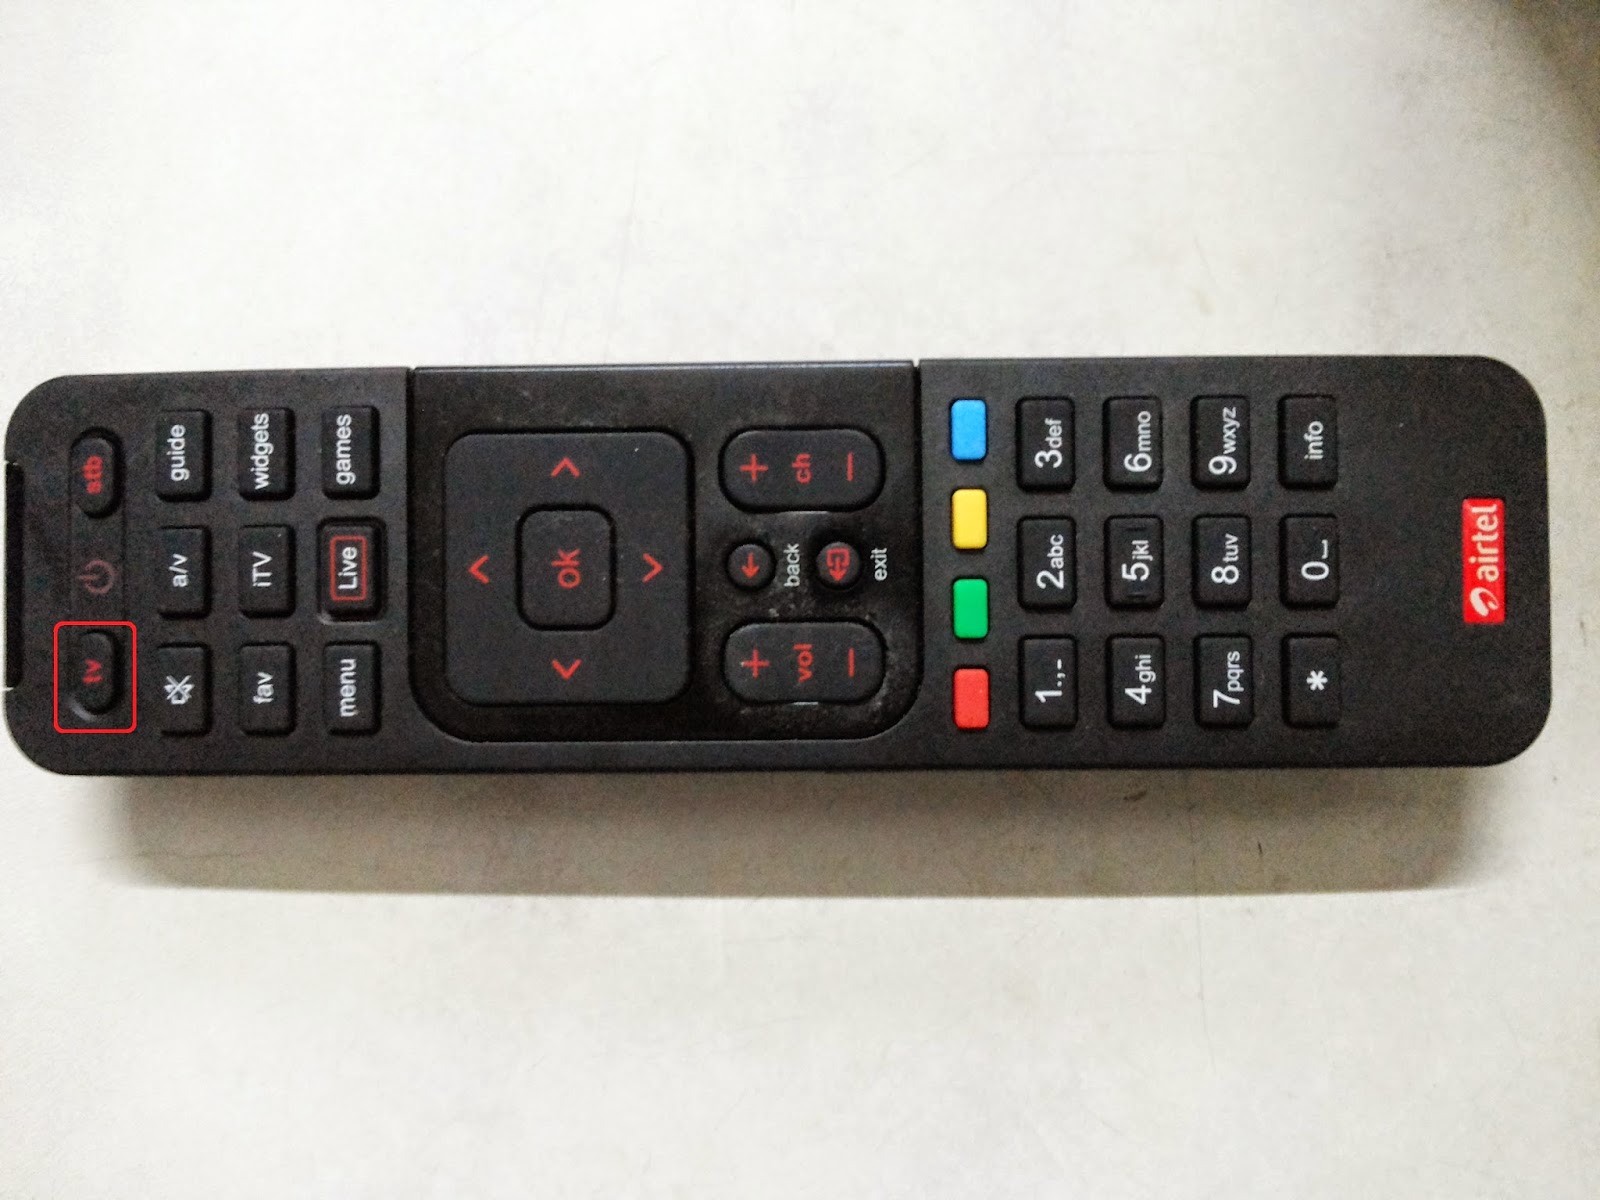
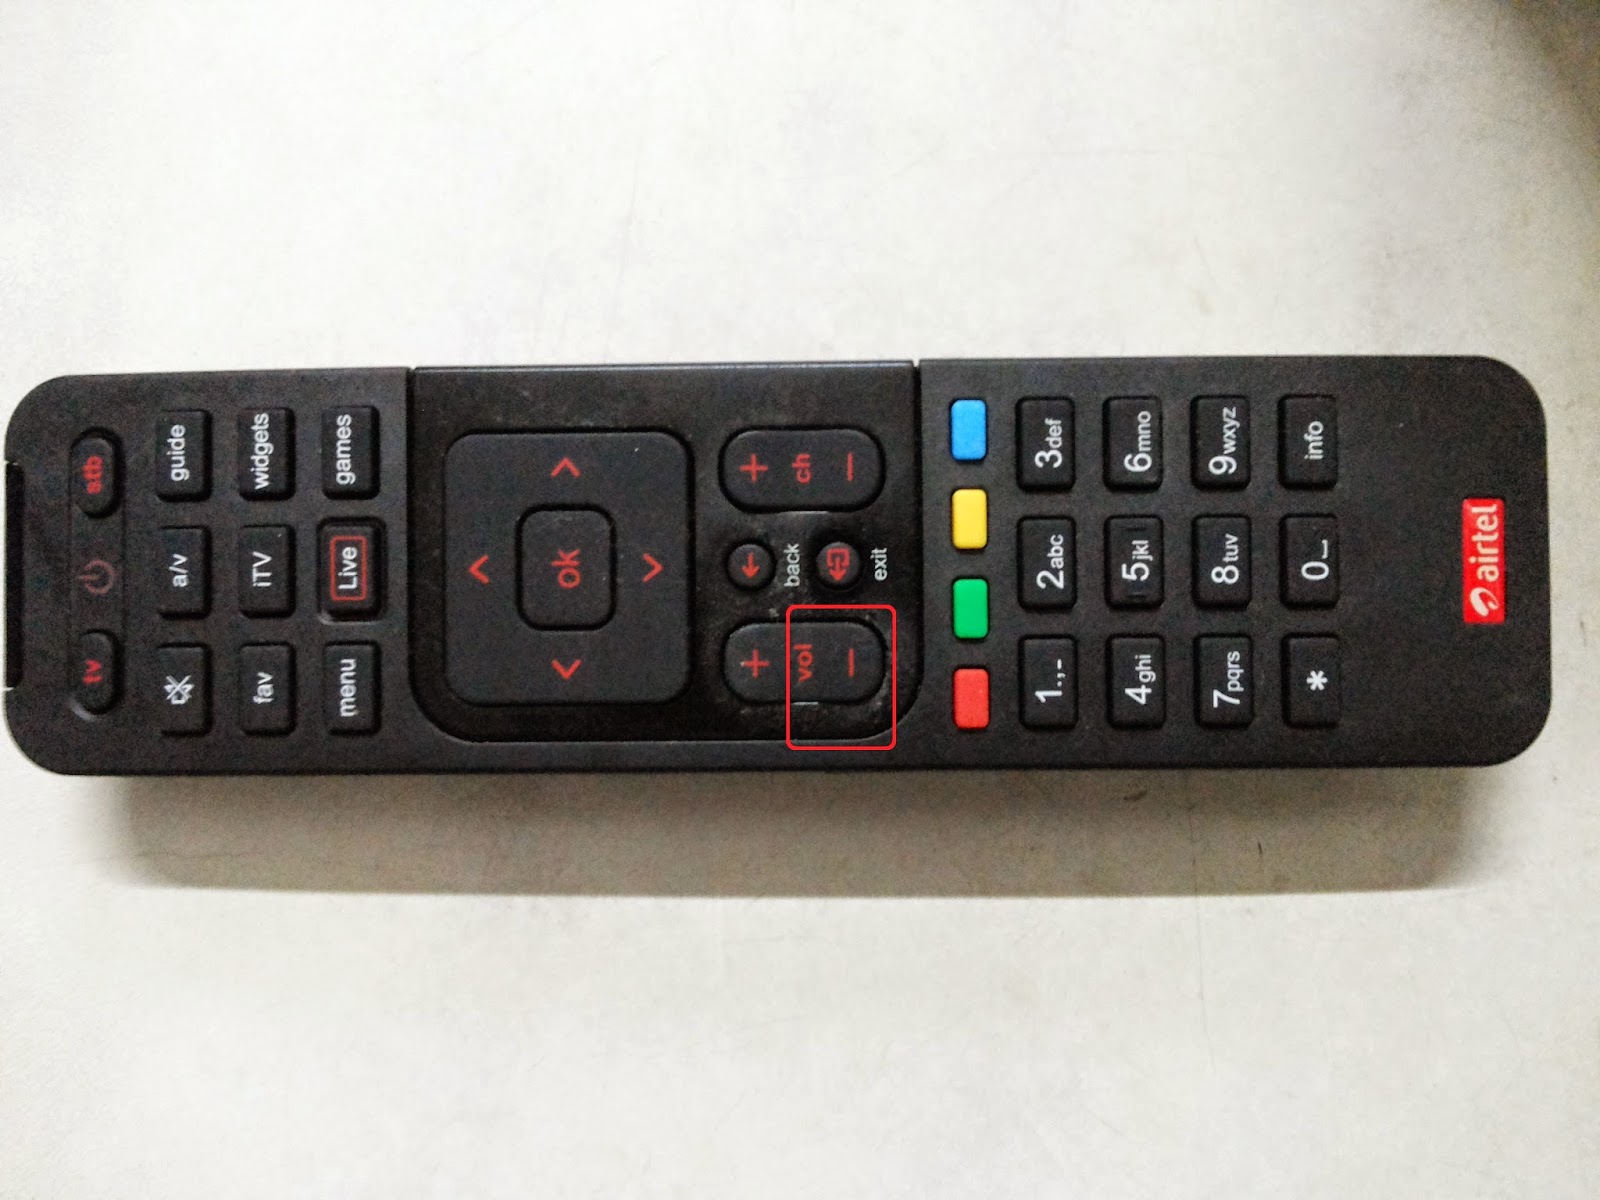
How to Program and Use Airtel
Digital TV Universal Remotes with your TV Set?
Recently I got rid of
my Samsung Plano tv after many years of meritorious service & opted for a
LG full HD LCD tv. After installation I found that certain buttons like the
on/off, mute, volume were not working on the Airtel universal remote. Going
thru the user guide from Airtel was not much use either and had to call the
Airtel service engineer to pair the two remotes.
When I asked the
service engineer to show me how its done he pompously said ‘Uncle even if I show it to you it will be of no use as you will never
be able to do it on your own’. Anyway I observed what he did & put the
details here so that others do not have to face the same situation.
Since my universal
remote was programmed with my old tv I had to reset the remote first.
1. Press
and hold OK and Red button on your Airtel Universal Remote for a few seconds.
The LED will blink twice.
2. Release
the buttons and press number buttons 9, 8 and 0 one by one quickly.
3. The
LED will again blink twice and it'll reset the universal remote to factory
settings.
After this you can get down to programming the
universal remote to pair with your new TV remote.
Airtel
Digital TV universal remotes allow you to program following 5 buttons
only:
- Power (TV On/Off)
- Volume Up
- Volume Down
- Mute
- TV Source (AV, HDMI, etc)
To setup Airtel Digital TV universal remote. You will have to follow
separately, the setup for each of the 5 functions mentioned above.
First you will have to switch your DTH universal
remote into ‘learning mode’.
Press OK button and number ‘2’ button
simultaneously on your universal remote for a few seconds. The LED on your
remote will blink twice which means the remote is in learning mode now.
1)
For Power (TV
On/Off).

Now place
the universal remote and your TV remote in front of each other i.e. their LEDs
should face each other. Make sure the distance between both remote LEDs must be
between 3-6 cms. Then
press the ‘Power’ button on your TV
remote. The LED on your universal remote will again blink twice which means the
button has been programmed successfully. Press ‘OK’ to save the changes. The
LED on universal remote will blink twice. If the light blinks 4 times, it means
the button programming was not completed and you'll need to follow the above
steps again.
2)
Volume Up.
Let the
remotes continue to face each other. Now place the universal remote and your TV
remote in front of each other i.e. their LEDs should face each other. Make sure
the distance between both remote LEDs must be between 3-6 cms. Then press the ‘Volume Up’
button on
your TV remote. The LED on your universal remote will again blink twice which
means the button has been programmed successfully. Press ‘OK’ to save the changes. The
LED on universal remote will blink twice. If the light blinks 4 times, it means
the button programming was not completed and you'll need to follow the above
steps again.
3)
Volume Down.

Let the
remotes continue to face each other. Now place the universal remote and your TV
remote in front of each other i.e. their LEDs should face each other. Make sure
the distance between both remote LEDs must be between 3-6 cms. Then press the ‘Volume Down’ button
on
your TV remote. The LED on your universal remote will again blink twice which
means the button has been programmed successfully. Press ‘OK’ to save the changes.
The LED on universal remote will blink twice. If the light blinks 4 times, it
means the button programming was not completed and you'll need to follow the
above steps again.
4)
Mute.
Let the
remotes continue to face each other. Now place the universal remote and your TV
remote in front of each other i.e. their LEDs should face each other. Make sure
the distance between both remote LEDs must be between 3-6 cms. Then press the ‘Mute’ button
on
your TV remote. The LED on your universal remote will again blink twice which
means the button has been programmed successfully. Press ‘OK’ to save the changes.
The LED on universal remote will blink twice. If the light blinks 4 times, it
means the button programming was not completed and you'll need to follow the
above steps again.


